

VPS&nginxでwordpressを動かすシリーズの一覧になります。このエントリは手順⑧になります。
- WordPressのブログをVPS&nginxへ移行の手順①:Macのターミナルの使い方を学ぶ
- WordPressのブログをVPS&nginxへ移行の手順②:VPS契約から初期設定、コントロールパネルの各種機能
- WordPressのブログをVPS&nginxへ移行の手順③:VPS初期設定編。作業用アカウント作成手順
- WordPressのブログをVPS&nginxへ移行の手順④:鍵認証導入とポートの変更
- WordPressのブログをVPS&nginxへ移行の手順⑤:ファイアーウォールとdenyhostsの設定
- WordPressのブログをVPS&nginxへ移行の手順⑥:nginxのインストール&設定(複数ドメイン対応)
- WordPressのブログをVPS&nginxへ移行の手順⑦:PHPのインストールとPHP-fpm(fastcgi)の導入
- WordPressのブログをVPS&nginxへ移行の手順⑧:MySQLのインストール・設定
- WordPressのブログをVPS&nginxへ移行の手順⑨:wordpressのインストール
さて、今回はMySQLのインストールと設定編。もうすぐこのシリーズ終われるかな。。。
MySQLをインストールする
MySQLはオラクルのを使います。まあ一般的ですし、一番解説も多く出ています。
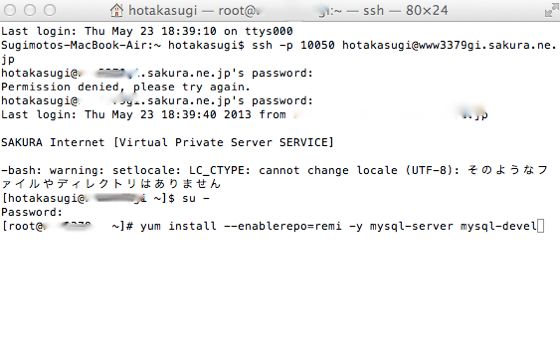
インストールのためのコマンドは以下の通り。
[sourcecode language=”plain”]yum install –enablerepo=remi -y mysql-server mysql-devel[/sourcecode]
[sourcecode language=”plain”]/etc/init.d/mysqld start[/sourcecode] で起動させます。
[sourcecode language=”plain”]chkconfig mysqld on[/sourcecode] でサーバが再起動したときも自動で起動するように設定します。
MySQLの初期設定
以下のコマンドで初期設定を開始します。
[sourcecode language=”plain”]mysql_secure_installation[/sourcecode]
最初に、
[sourcecode language=”plain”]Enter current password for root (enter for none)[/sourcecode]
と出てきます。まだパスワードを設定していませんので、何も入力せずenterキーを押して次に進みます。
この次に、
[sourcecode language=”plain”]Set root password? [Y/n][/sourcecode]
と出ますので、キーボードのYを押します。
[sourcecode language=”plain”]New password:[/sourcecode]
とパスワードを設定するように求められます。パスワードを決めましょう。
[sourcecode language=”plain”]Re-enter new password[/sourcecode]
と出ますので、同じパスワードを入力。
そして、
[sourcecode language=”plain”]Remove anonymous users? [Y/n][/sourcecode]
と聞かれます。Yを押して匿名ユーザーは使えないようにしましょう。
次に、
[sourcecode language=”plain”]Disallow root login remotely? [Y/n][/sourcecode]
と聞かれるのでYを押しましょう。リモートでroot権限でログインを不能にします。
[sourcecode language=”plain”]Remove test database and access to it? [Y/n][/sourcecode]
これもYで。
[sourcecode language=”plain”]Reload privilege tables now? [Y/n][/sourcecode]
これもYでOK。
以上でMySQLの設定は終了。
次回はWordpressのインストール&設定編です。

ソフトバンククリエイティブ
売り上げランキング: 9,400